Writing Center Anchor Charts

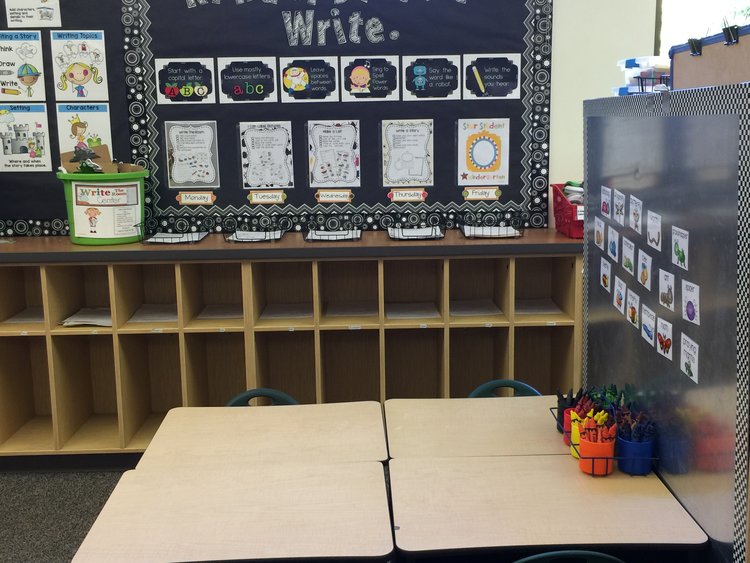
I love having my writing center ready to go -- all set up for a week or two. These pictures show how my current writing center looks.
The student cubbies, you can see, do not interfere with the set up, so when you are looking at your space think outside of the box. I was worried because I wanted a corner, but in this classroom it wasn't possible. So I decided to try something new and it worked perfectly.
To set up for the week (or length desired), I simple slide the task cards on the wall or bulletin board in the holders I have in place. I use these reusable sheets.
They work great because you can simply staple the corners to the bulletin board and your tasks cards can slip in and out as your units, holidays, or themes change.
Under the task card I have the basket of worksheets printed and ready for use.
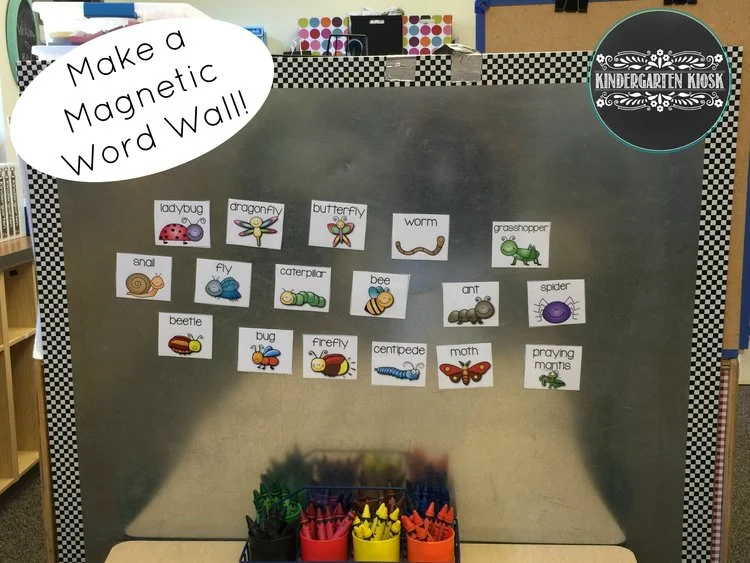
I place the vocabulary cards on the magnetic wall by the tables. In previous classroom this has been a velcro wall, or simply a wall to tape the word to. I have also used a clothesline to clip the words to. Choose your method, they all work! To get the metal board cut to the size you desire, simply find your local furnace store.
If you use the magnetic board, I use these magnets, but I also reinforce each magnet with a tiny square I cut from a roll of Gorilla tape. These have lasted years this way and are still in perfect shape!
The anchor cards to remind students of writing strategies stay all year long. These cards are invaluable in my classroom. They provide just the link necessary to build strong independent, emergent writers.

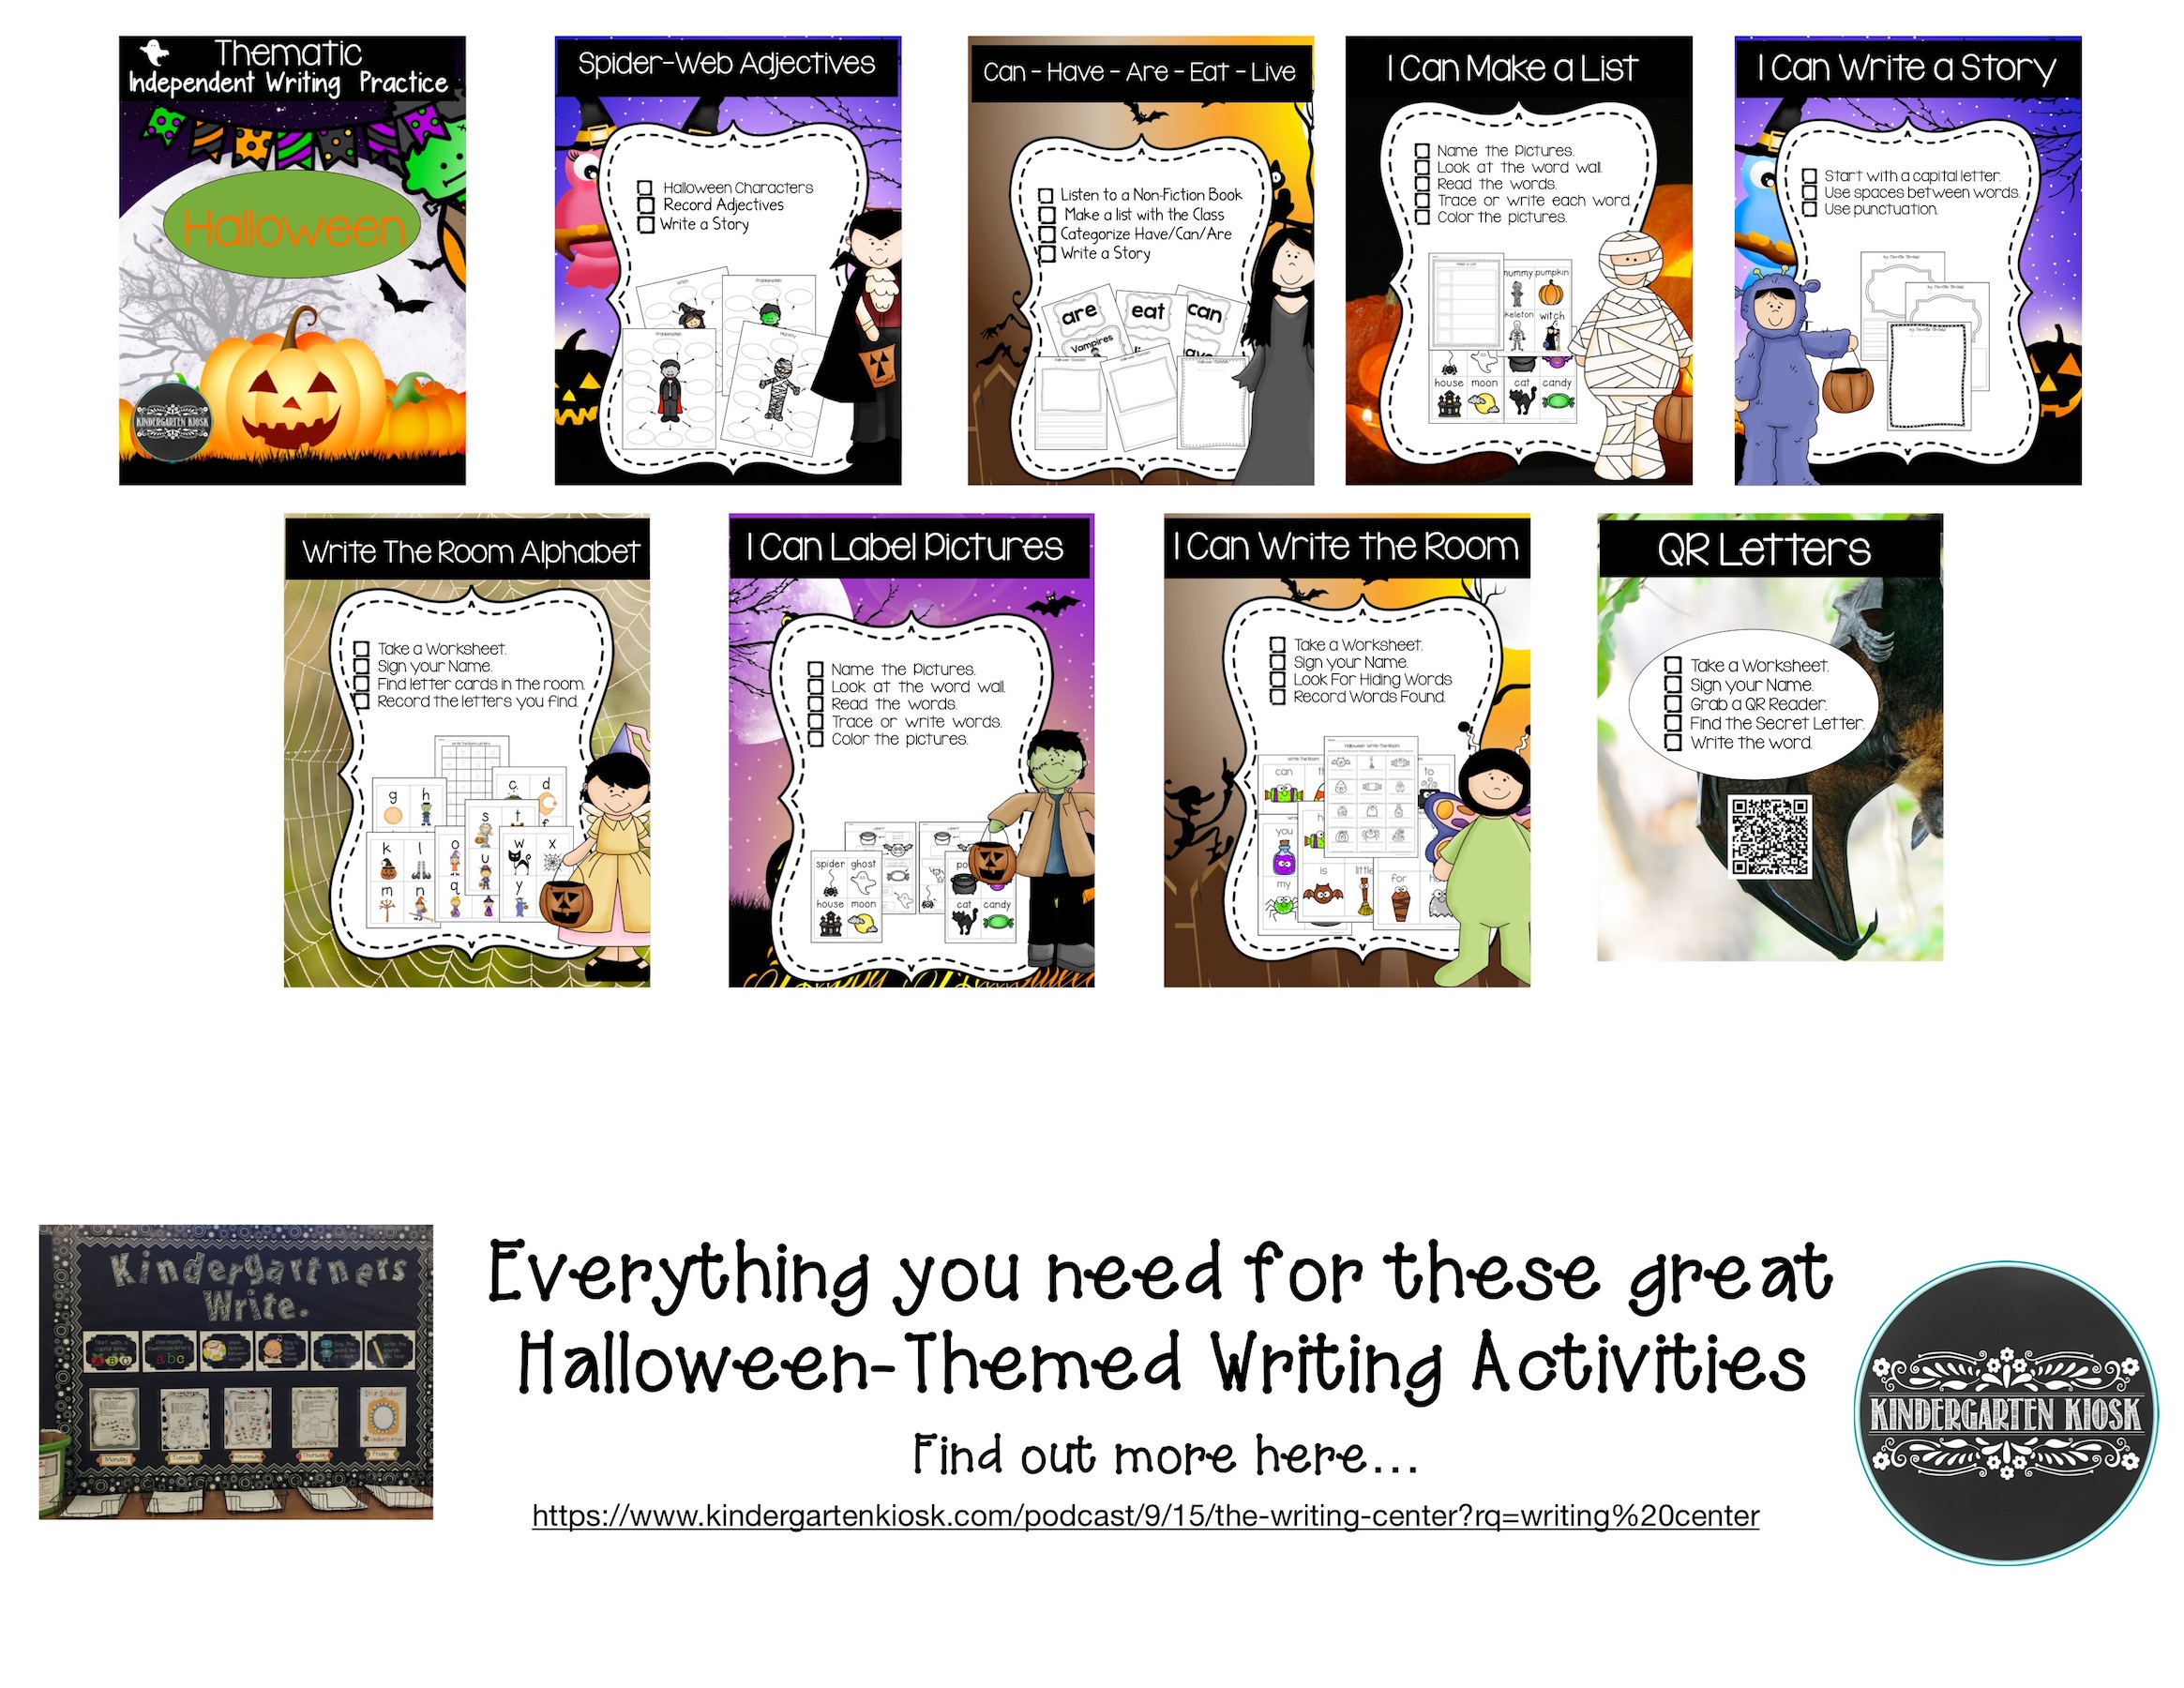
I have a set of these cards at my writing center, at my shared reading center and at my guided writing table. I couldn't teach writing without them. The students use them every day! I also have 20 plus Independent writing centers all ready for your classroom. The one-time-prep will save you time for years and years --- okay lets just say decades! A few of these sets are show below.
You can listen to the hows and whys of using a writing center on our podcast.


